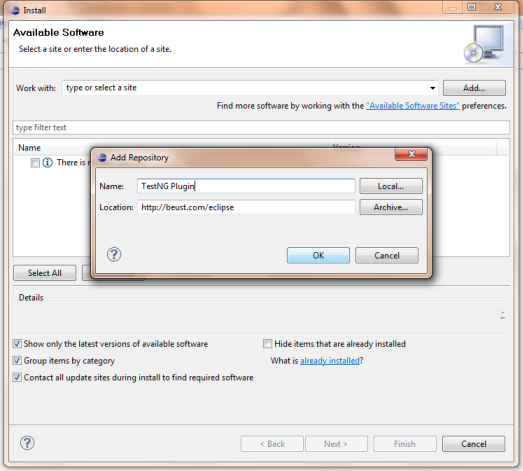
Type "http://beust.com/eclipse" in the "Location" edit box and "TestNG Plugin"(any name as your wish) in the "Name" edit box
> Click "OK" button
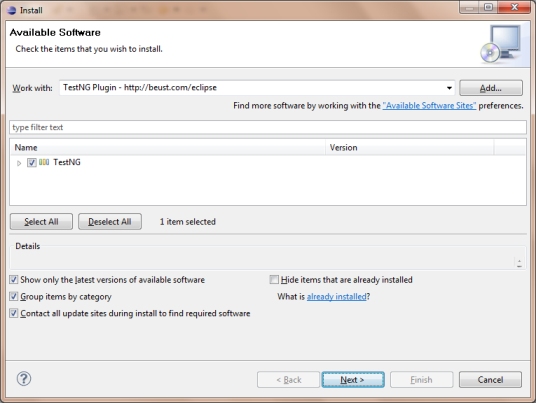
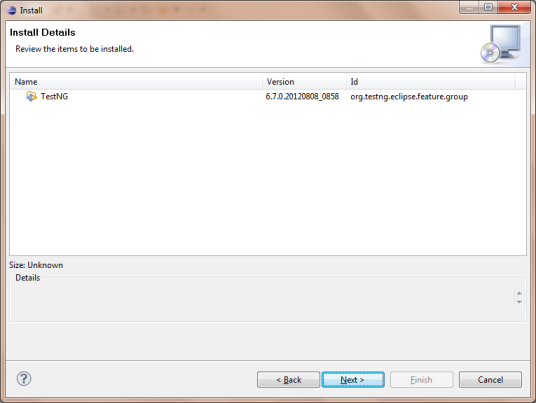
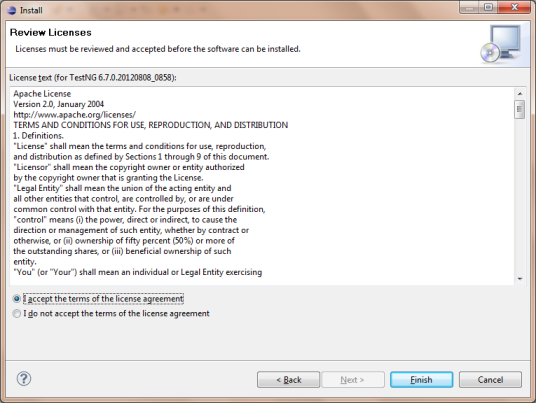
> Click 'Next' button
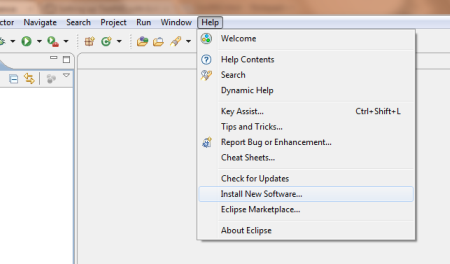
This post will explain about installation of TestNG plug-in with Eclipse (Indigo)
There is no need to download any Jar file or exe file for installation. We need to just utilize the “Install New Software” option available in the Eclipse.
After the installation, it will ask for restart of Eclipse. Then restart the Eclipse.
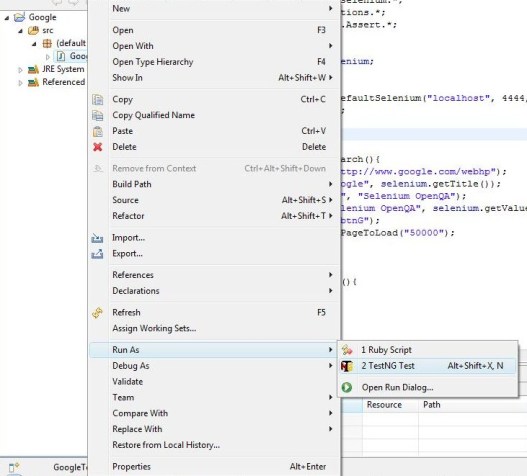
Once the Eclipse is restarted, we can see the TestNG icons & menu items as in the below figures.
For the next step after configuration please go through Getting started with TestNG unit testing framework.
It is very much clearly explained how to setup the TestNG with eclipse. The screenshots make it easy to understand the setting up of TestNG. I hope this will help people who are eager to start using TestNG for their unit testing as well as UI Test Automation with Selenium.
For more details please go through my post Getting started with Selenium RC (selenium 1) with TestNG